[ad_1]

Whether you are an IoT enthusiast, an enterprise developer or a high school teacher, we all know the thrill of bringing a new IoT project to life. But we also understand the frustration of repetitive setup processes and the time sink of configuring the same elements over and over again. What if you could save your project setup and reuse it at will?
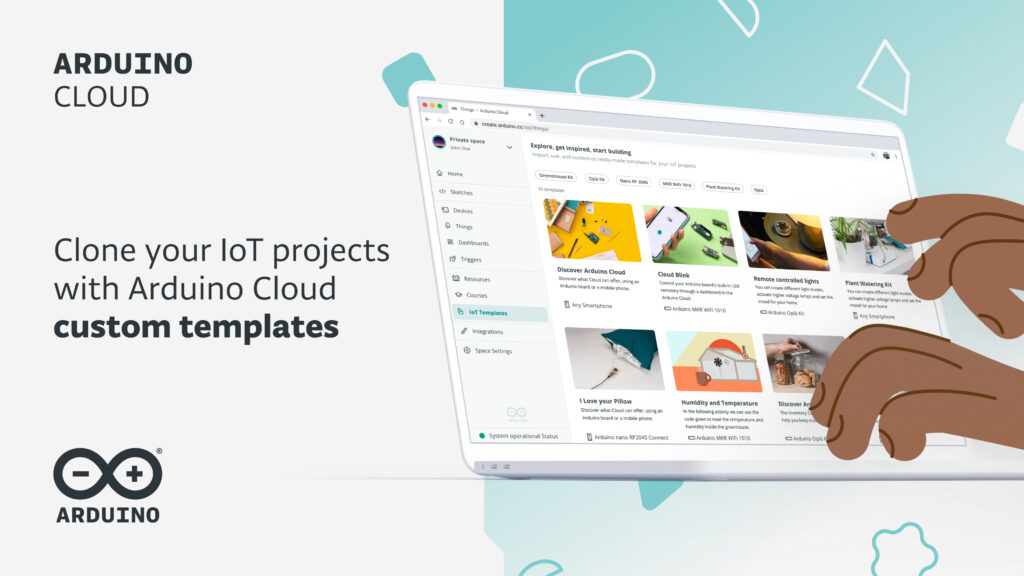
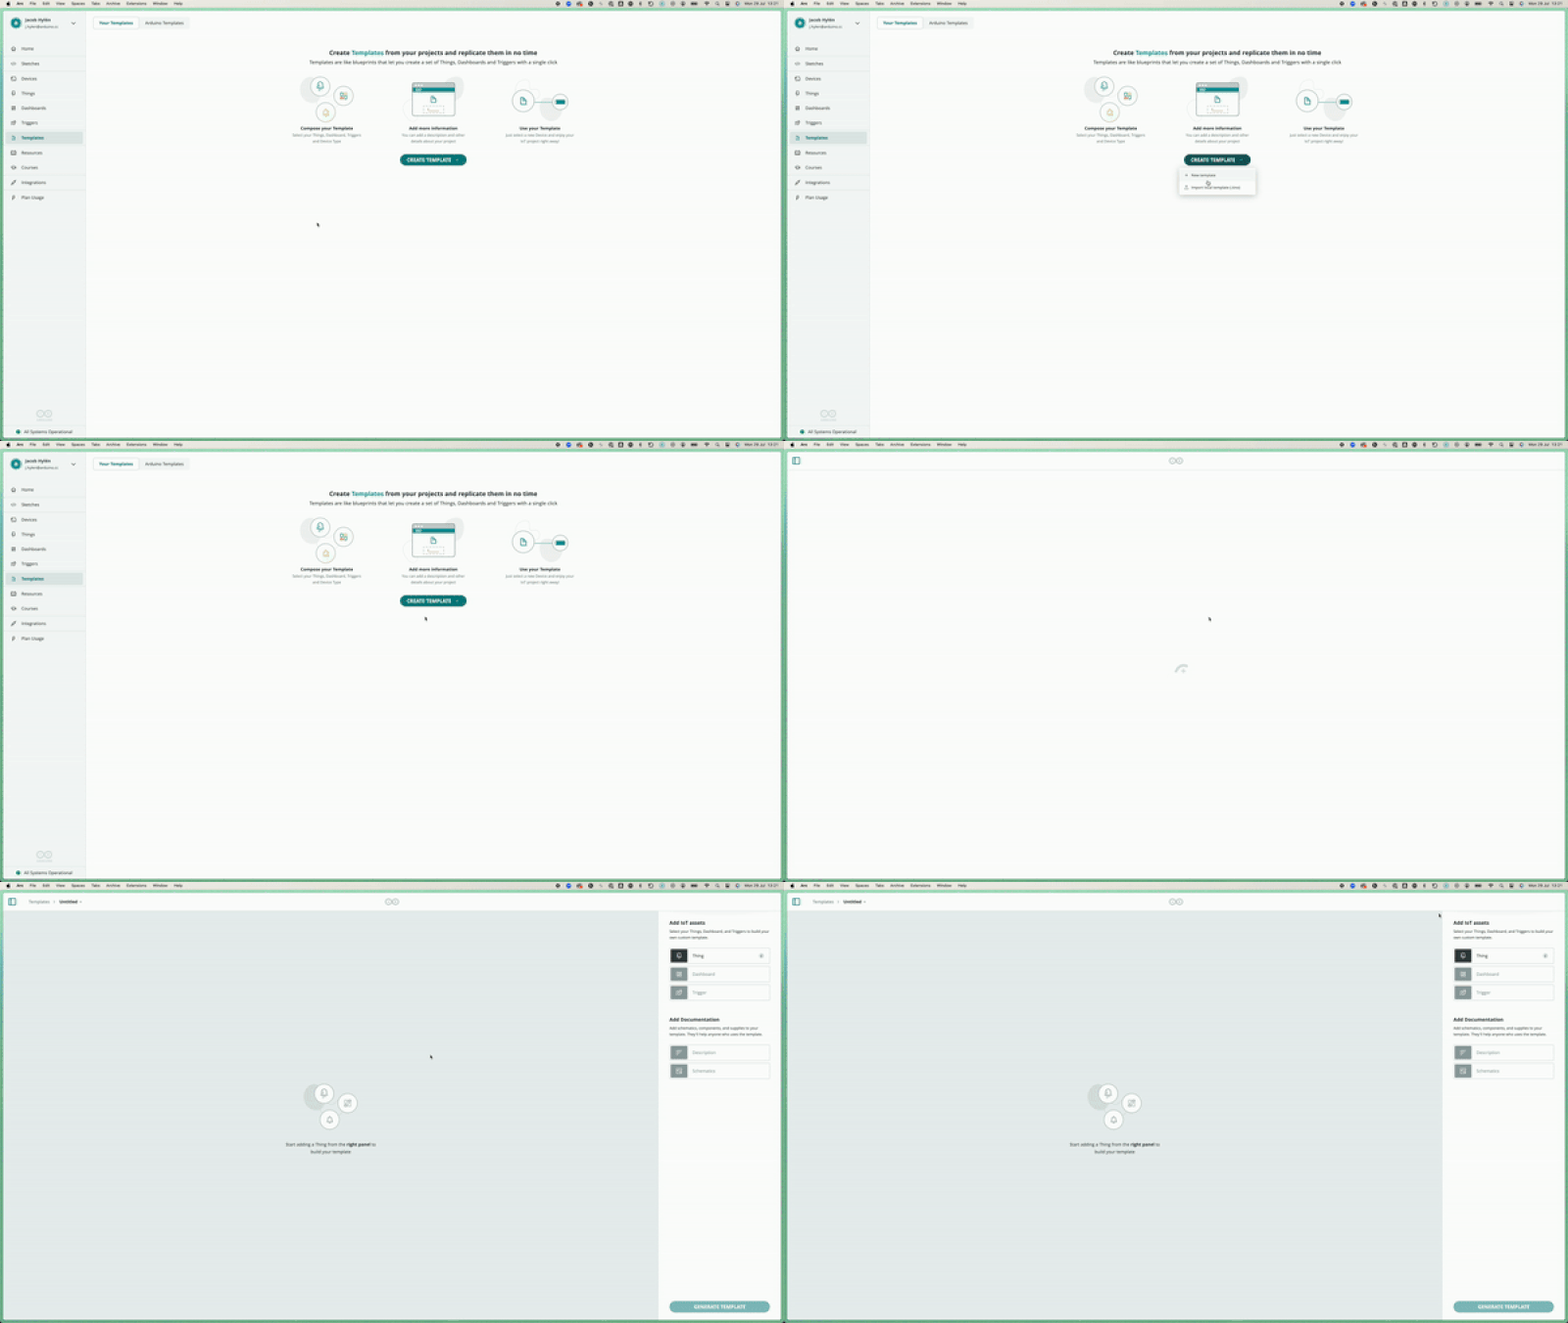
Today, we’re beyond excited to announce a feature that addresses these exact needs: Custom Templates for Arduino Cloud. Custom Templates allow you to easily create, reuse and share IoT projects on the Arduino Cloud. They are great to streamline your workflow, replicate your IoT projects and share them within your team’s workspace.
In a word, Custom Templates aren’t just a new feature; they’re a response to your desire for more flexibility, efficiency, and scalability in the Arduino ecosystem.
What are Arduino Cloud templates?
Arduino Cloud templates are pre-configured projects available to anyone willing to set-up their Arduino devices for use quickly.
These templates automatically configure your device, upload a basic sketch to your board, and create a dashboard, all within one click. It’s pretty convenient and saves you a lot of time in the setup process.
Until now, users could only choose from a gallery of pre-defined templates created by Arduino. With the introduction of Custom Templates, you can now create and save your own project configurations as templates. This means you can:
1. Design your own Thing abstractions, including custom sketches and variables.
2. Create personalized dashboards for interacting with your devices.
3. Save and reuse your favorite project setups.
4. Share your templates within your workspace for Enterprise and School plans.
Why use Custom Templates? 6 reasons
The addition of Custom Templates brings several key benefits to Arduino Cloud users:
1. Save time: Reuse your successful project configurations without starting from scratch each time.
2. Ensure consistency: Maintain uniform setups across multiple projects or devices.
3. Scale fast: Easily replicate projects at scale, a game-changer for Enterprise and School users managing multiple devices or standardizing setups across teams.
4. Customize: Tailor templates to your specific needs, going beyond the pre-defined options.
5. Keep best practices: Capture and preserve successful project setups for future use.
6. Collaborate: Users who are on an Enterprise or School plan can share their templates within workspace, fostering standardization and best practices across your organization.
These benefits make Custom Templates a powerful tool for individual makers looking to boost their productivity, as well as for larger organizations aiming to implement and scale Arduino-based solutions efficiently.
Use cases: Custom Templates in action

Let’s look at some examples of how Custom Templates can help Makers, Enterprises, and Schools.
For Makers
- Smart gardening system: Automated watering can be optimized with the usage of soil moisture sensors, remote water pump control and sunlight or rain monitoring. With Custom Templates, you can easily replicate the setup across your garden with one or multiple templates per device type.
- Modular smart home system: A DIY enthusiast develops a base template for smart home devices, including basic Wi-Fi connectivity and MQTT communication. They can then quickly derive new templates for specific applications like smart lighting, temperature control, or security sensors, all building upon the same reliable base configuration.
For Enterprises
- Industrial sensor deployment: A manufacturing company creates a template for their quality control sensors. This template includes specific calibration settings, data reporting intervals, and alert thresholds. They can rapidly deploy this template to hundreds of sensors across multiple production lines and facilities, ensuring consistency and easy management of their quality control system.
- Fleet management system: A logistics company develops a template for their vehicle tracking devices. The template includes GPS tracking, fuel monitoring, and driver behavior analysis features. Using this template, they can quickly set up new devices as their fleet expands, maintaining consistent data collection and reporting across all vehicles.
For Schools
- Standardized lab kits: A school’s science department creates a set of templates for different experiments (e.g., environmental monitoring, simple robotics, data logging). These templates can be quickly deployed to student kits at the beginning of each class, ensuring all students start with the correct configuration and reducing setup time.
- Progressive learning modules: Teachers develop a series of templates with increasing complexity for a semester-long course. Starting with basic sensor reading templates, they progress to more complex projects involving multiple sensors, actuators, and data processing. This approach allows students to build on their knowledge incrementally, with each new template introducing additional concepts and components.
What is Arduino Cloud?
For those new to the platform, the Arduino Cloud is an intuitive IoT platform that allows you to develop, monitor, and control your Arduino devices remotely. It provides a user-friendly interface for managing your IoT projects, real-time data monitoring, and OTA (over-the-air) firmware updates. With features like Arduino Cloud Templates, it’s easier than ever to get your projects up and running quickly.
Get started with Custom Templates
Custom Templates are a valuable new feature in the Arduino Cloud, offering improved flexibility and efficiency for all users. Whether you’re a maker streamlining personal projects, an enterprise scaling IoT solutions, or an educator designing learning experiences, this feature helps you save time, ensure consistency and increase productivity. Custom Templates allow you to reuse proven solutions and standardize deployments across teams, adapting to your specific needs.
Sign up now and start creating your own Custom Templates. For a detailed guide on how to use this feature effectively, please refer to our documentation.
[ad_2]