[ad_1]
This post is sponsored by Lowe’s Home Improvement
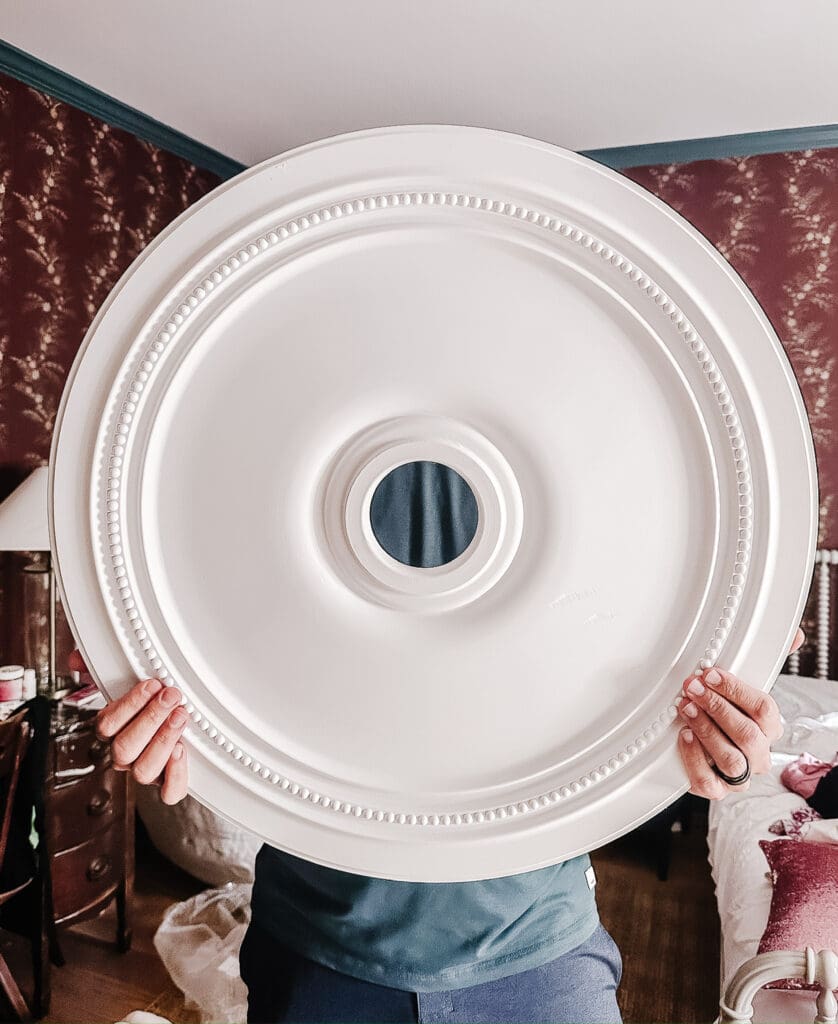
We picked a new chandelier in Greta’s room to continue her room makeover, and I decided to add a little more drama in the form of a ceiling medallion. I went to Lowes.com to check out their selection, and they had an incredible range from ornate Victorian glamour to sleek modern drama. I picked one that I thought would be the best of both worlds, and we just installed it last week. Spoiler: It turned out SO good, and it was so easy. It adds a traditional feel against the modern chandelier we chose, and it makes the room feel even more special. Greta is thrilled with how it turned out (in that subdued teenager kind of way). *wink*

Ceiling Medallion | Greta’s Room Sources
The history of ceiling medallions is interesting (check out this Apartment Therapy article), as they were originally not just an ornamental decoration. Some say that when light fixtures used to have candles with flames, it would create a ring of soot on the ceiling, and the medallions would help disguise the soot and could be repainted easily. Who knew?! They were traditionally plastered right onto the ceiling, but now it’s easy to find them made out of fiberglass, wood, or composite. Lowe’s has a great selection of composite which are so light they don’t need a lot of stabilization to install.
How to Choose a Ceiling Medallion
A handy tip is to “match” the medallion to the size of the room — if the room is larger and the ceiling is taller than nine feet, then choose one wider in diameter than the light fixture. If the room is smaller and shorter than nine feet, choose one smaller than the light fixture. I’ve seen some calculations that say you can multiply your room length and width together and divide by seven to get the approximate ceiling medallion diameter (e.g. 10-by-14 foot room would equal a 20″ diameter medallion). I eyeballed Greta’s room and got one that was 24 inches in diameter.

Ceiling Medallion
You also want to make sure your light fixture hangs down from the medallion to give it some breathing room — avoid flush mount lights when installing a ceiling medallion. Since we removed the previous light fixture, we were able to use a whole circle medallion instead of the two halves options over the electrical wiring.
How We Installed the Medallion
This project was a simple 5-step process:
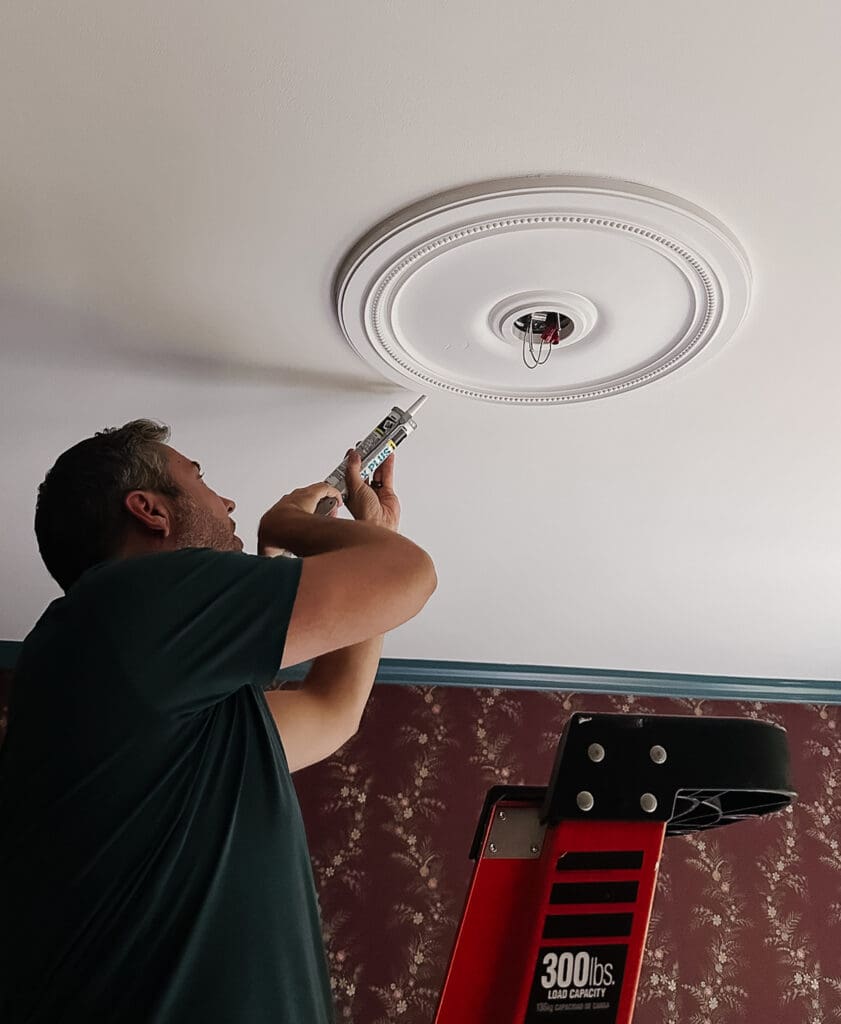
- Apply Fast Dry Paintable Caulk adhesive in a circle around the back of the medallion, and attach it to the ceiling with the wiring coming out of the opening.

Fast Dry Paintable Caulk | Caulk Gun

Ladder | Stud Finder
2. Use a stud finder to find the ceiling joists.

Nail Gun
3. Using a framing nailer, drive three or four nails into the ceiling joists in even intervals around the medallion to secure it.

Patching Compound
4. Patch the nail holes with some patching compound (you can use a putty knife, but since there’s more curvature, a finger did the trick here).

5. Caulk around the outer rim, and smooth it out.

The medallion was actually pretty close to the color of the ceiling, so we may not even paint it, but that would be step six!
My Favorite Ceiling Medallions
There are so many good ceiling medallions out there for any style. I shopped around at Lowe’s to collect some of my favorites — I may have to find another spot for one of these!
[ad_2]