Displays are crucial to modern life; they are literally everywhere. But modern flat-panel LCDs and cheap 7-segment LED displays are, well, a bit boring. When we hackers want to display the progress of time, we want something more interesting, hence the plethora of projects using Nixie tubes and various incantations of edge-lit segmented units. Here is [upir] with their take on the simple edge-lit acrylic 7-segment design, with a great video explanation of all the steps involved.

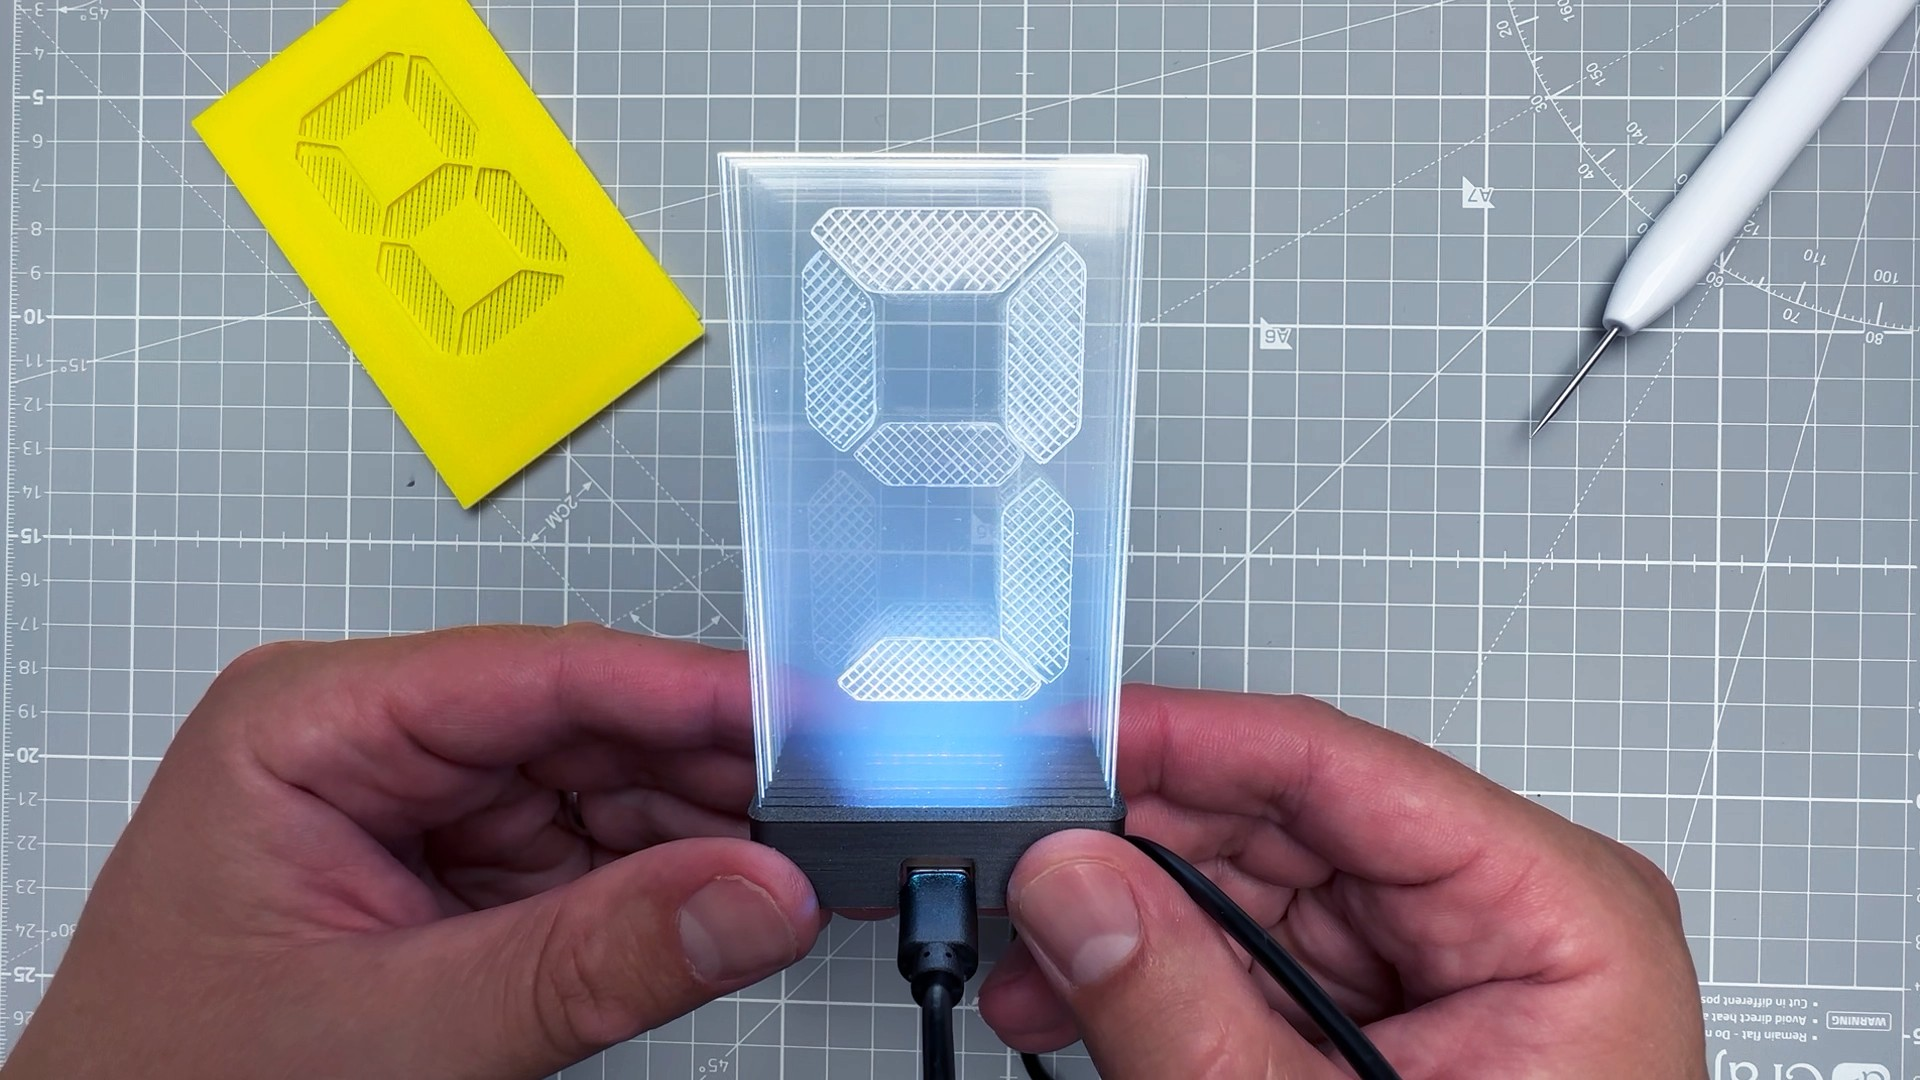
The idea behind this concept is not new. Older displays of this type used tiny tungsten filament bulbs and complex light paths to direct light to the front of the display. The modern version, however, uses edge-lit panels with a grid of small LEDs beneath each segment, which are concealed within a casing. This design relies on the principle of total internal reflection, created by the contrast in refractive indices of acrylic and air. Light entering the panel from below at an angle greater than 42 degrees from normal is entirely reflected inside the panel. Fortunately, tiny LEDs have a wide dispersion angle, so if they are positioned close enough to the edge, they can guide sufficient light into the panel. Once this setup is in place, the surface can be etched or engraved using a CNC machine or a laser cutter. A rough surface texture is vital for this process, as it disrupts some of the light paths, scattering and directing some of it sideways to the viewer. Finally, to create your display, design enough parallel-stacked sheets for each segment of the display—seven in this case, but you could add more, such as an eighth for a decimal point.
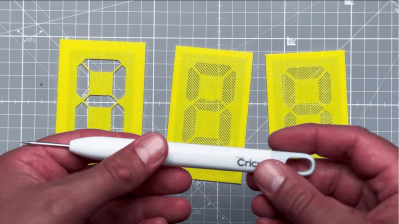
How you arrange your lighting is up to you, but [upir] uses an off-the-shelf ESP32-S3 addressable LED array. This design has a few shortcomings, but it is a great start—if a little overkill for a single digit! Using some straightforward Arduino code, one display row is set to white to guide light into a single-segment sheet. To form a complete digital, you illuminate the appropriate combination of sheets. To engrave the sheets, [upir] wanted to use a laser cutter but was put off by the cost. A CNC 3018 was considered, but the choice was bewildering, so they just went with a hand-engraving pick, using a couple of 3D printed stencils as a guide. A sheet holder and light masking arrangement were created in Fusion 360, which was extended into a box to enclose the LED array, which could then be 3D printed.
If you fancy an edge-lit clock (you know you do) check out this one. If wearables are more your thing, there’s also this one. Finally, etched acrylic isn’t anywhere near as good as glass, so if you’ve got a vinyl cutter to hand, this simple method is an option.
