[ad_1]

Why It Works
- Starting with a few tester kernels ensures the oil is the right temperature for popping the corn.
- Leaving the lid slightly ajar while cooking lets some steam escape to ensure crunchy, not soggy, popcorn.
- Shaking the pot continuously during cooking guarantees evenly cooked, never burnt, popcorn.
Whenever I’m out at a local county fair or carnival, I know I can count on the sweet smell of freshly popped kettle corn in the air. As soon as that distinctive scent hits my nose, I’m a bloodhound on the hunt, sniffing and searching. Once I hear that merry popping sound, I know I’m just a few steps away from an enormous bag of the freshly popped sweet-salty snack that I begrudgingly have to share with my family.
Messily munching away on handfuls of kettle corn is a peak snacking experience for me, but unfortunately I’m not out galavanting at county fairs every weekend—as much as I’d love that! I go to maybe one fair a year, but I want this freshly popped crunchy snack more often than that.
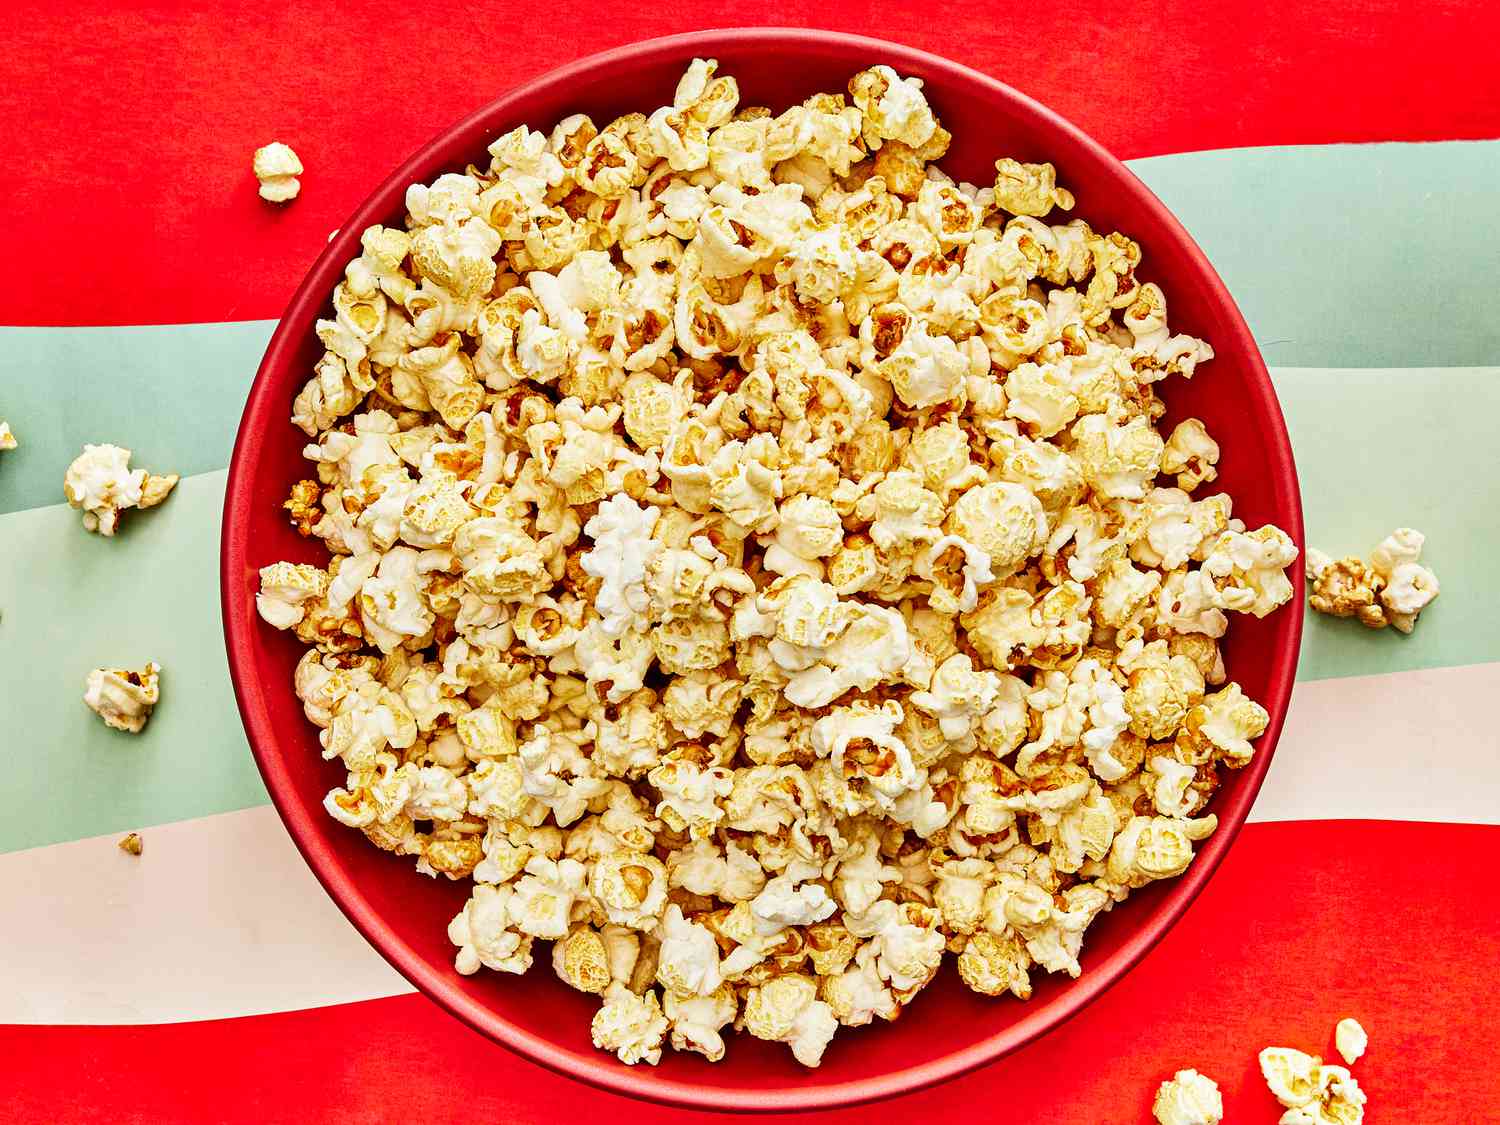
Serious Eats / Morgan Hunt Glaze
That’s where this recipe for homemade kettle corn created by our Birmingham-based test kitchen colleague Renu Dhar comes in. Sure you could bring a popped bag home from the fair or grocery store, or buy a microwave version, but the former is usually stale by the time it gets home while the latter is typically lackluster in flavor. Also, popping it fresh at home is ridiculously easy: It requires just four basic ingredients to make—popping corn, sugar, salt, and oil—and one pot, plus it takes just five minutes to prep. And what you get tastes just as good and fresh as if it came straight from the kettle at the fair.
What Exactly Is Kettle Corn?
In the pantheon of popcorns, kettle corn sits somewhere in between plain popped corn and caramel corn. It’s lightly golden with the perfect salty-sweet balance. Every popped kernel is encased in a signature light, crisp, sugary coating, but it won’t stick to your teeth the way caramel corn will. Achieving this flavor balance and ideal texture really isn’t that hard, but there are a few key steps you’ll want to follow to ensure every kernel is perfectly popped and you’re not left with a burnt mess. Renu and the rest of our testing team left no kernel unpopped in our search for a foolproof crunchy, lightly sweet kettle corn recipe. Here are our tips for the best kettle corn.
Tips for Perfectly Popped Kettle Corn
Choose mushroom popcorn. Mushroom popcorn, as the name suggests, boasts a round and compact shape that closely resembles a mushroom cap. Its key feature is its ability to pop into a dense, large, and rounded ball with fewer hulls compared to other popcorn varieties. Due to its rounded shape, the resulting puffed corn is less prone to crushing. If you’re going to regularly make popcorn at home, it’s worth seeking out. The kernels will clearly be labeled mushroom variety on the packaging and it’s widely available for purchase online and at some specialty grocers. If unavailable, or you have a strong preference for a different variety, this recipe will still work with any variety of popcorn kernels.
Start with a couple of test kernels. According to food science writer Harold McGee in On Food and Cooking, the ideal temperature for popping corn is around 380°F (190°C). For the best results you need a method that gets as many of the kernels as possible to that ideal temperature at the most even rate possible. If the popcorn kernels are unevenly heated, any kernels that pop early are likely to burn before the whole batch pops, while also leaving behind too many tooth-cracking unpopped or semi-popped kernels.
The best way to ensure the oil in the pot is at the right temperature to promote quick, even cooking is to start by heating a few test kernels with neutral oil in the pot. When the kernels pop, that means the oil’s hot enough. At this point you can add all of the kernels to the oil, and stir well, then add the sugar and salt and stir again until every kernel is evenly coated. This ensures that once popped, all of the popcorn is evenly seasoned. Plus coating each kernel with the fat also further promotes even cooking.
Leave the lid slightly ajar. Keeping the pot covered as the popcorn cooks retains the heat inside for a more even cooking temperature. The lid also has a practical purpose of containing the corn as it violently pops away, and it also contains oil splatter. The downside to keeping the lid on is that it also traps the steam that is literally popping out of each kernel as it cooks. You want to prevent the popcorn from becoming soggy from the steam created during cooking. The easiest way to do this is to keep the lid slightly ajar (we’re talking just about a half inch of open space).
Shake, shake, shake. We’ve established by now that popcorn can be a bit temperamental. It can easily cook unevenly and is prone to burning quickly. Getting the pot up to popping temperature before cooking and mitigating steam are both helpful for even cooking, but you also need to keep the kernels in constant motion while cooking. So shake it. It’s only for a few minutes, and it guarantees every kernel is heated evenly. Use oven mitts or kitchen towels to hold the lid in place while shaking and cooking to protect your hands from burns. (You can also skip the shaking and use a Whirley Pop or other similar contraption that keeps the kernels constantly moving and releases steam.
Listen. When I was a line cook years ago, I had a chef tell me to always cook with my ears. We think smell and visual cues and times are the best indicators for when food is ready, but very often the sound food makes as it cooks is a strong indicator too. Even if you are using a clear lid and can see it popping away, you still won’t be able to tell when every last kernel is popped just by looking.
The best way to know when the popcorn is done is to listen: Once popping slows down and there are about two to three seconds between each pop, quickly remove the pot from the heat and continue to shake it until the popping has completely stopped. It’s always best to err a little on the unpopped side of things to avoid scorching and burning the popcorn. Remember, if it smells burnt, it’s too late, but if there are a few remaining unpopped kernels, it’s not a big deal.
This recipe was developed by Renu Dhar; the headnote was written by Leah Colins.
[ad_2]