[ad_1]
Throughout my house, I’m always changing out switch plates to either 1) blend them into the rest of the room or 2) elevate them to reflect other accents in the room.
One way to do that is with paintable switch plates. For instance, if your switch plates are on a baseboard where you don’t want to draw attention to them at all. Or maybe you have a color-drenched room and you don’t want the one thing not color-drenched in your room to be your wallplates. We’ve also gotten brass switch plates for a few rooms because there were either brass accents in that room so it felt like a part of it—or we just wanted to elevate the look. Usually, if I’m not going to paint them, I go with brass.
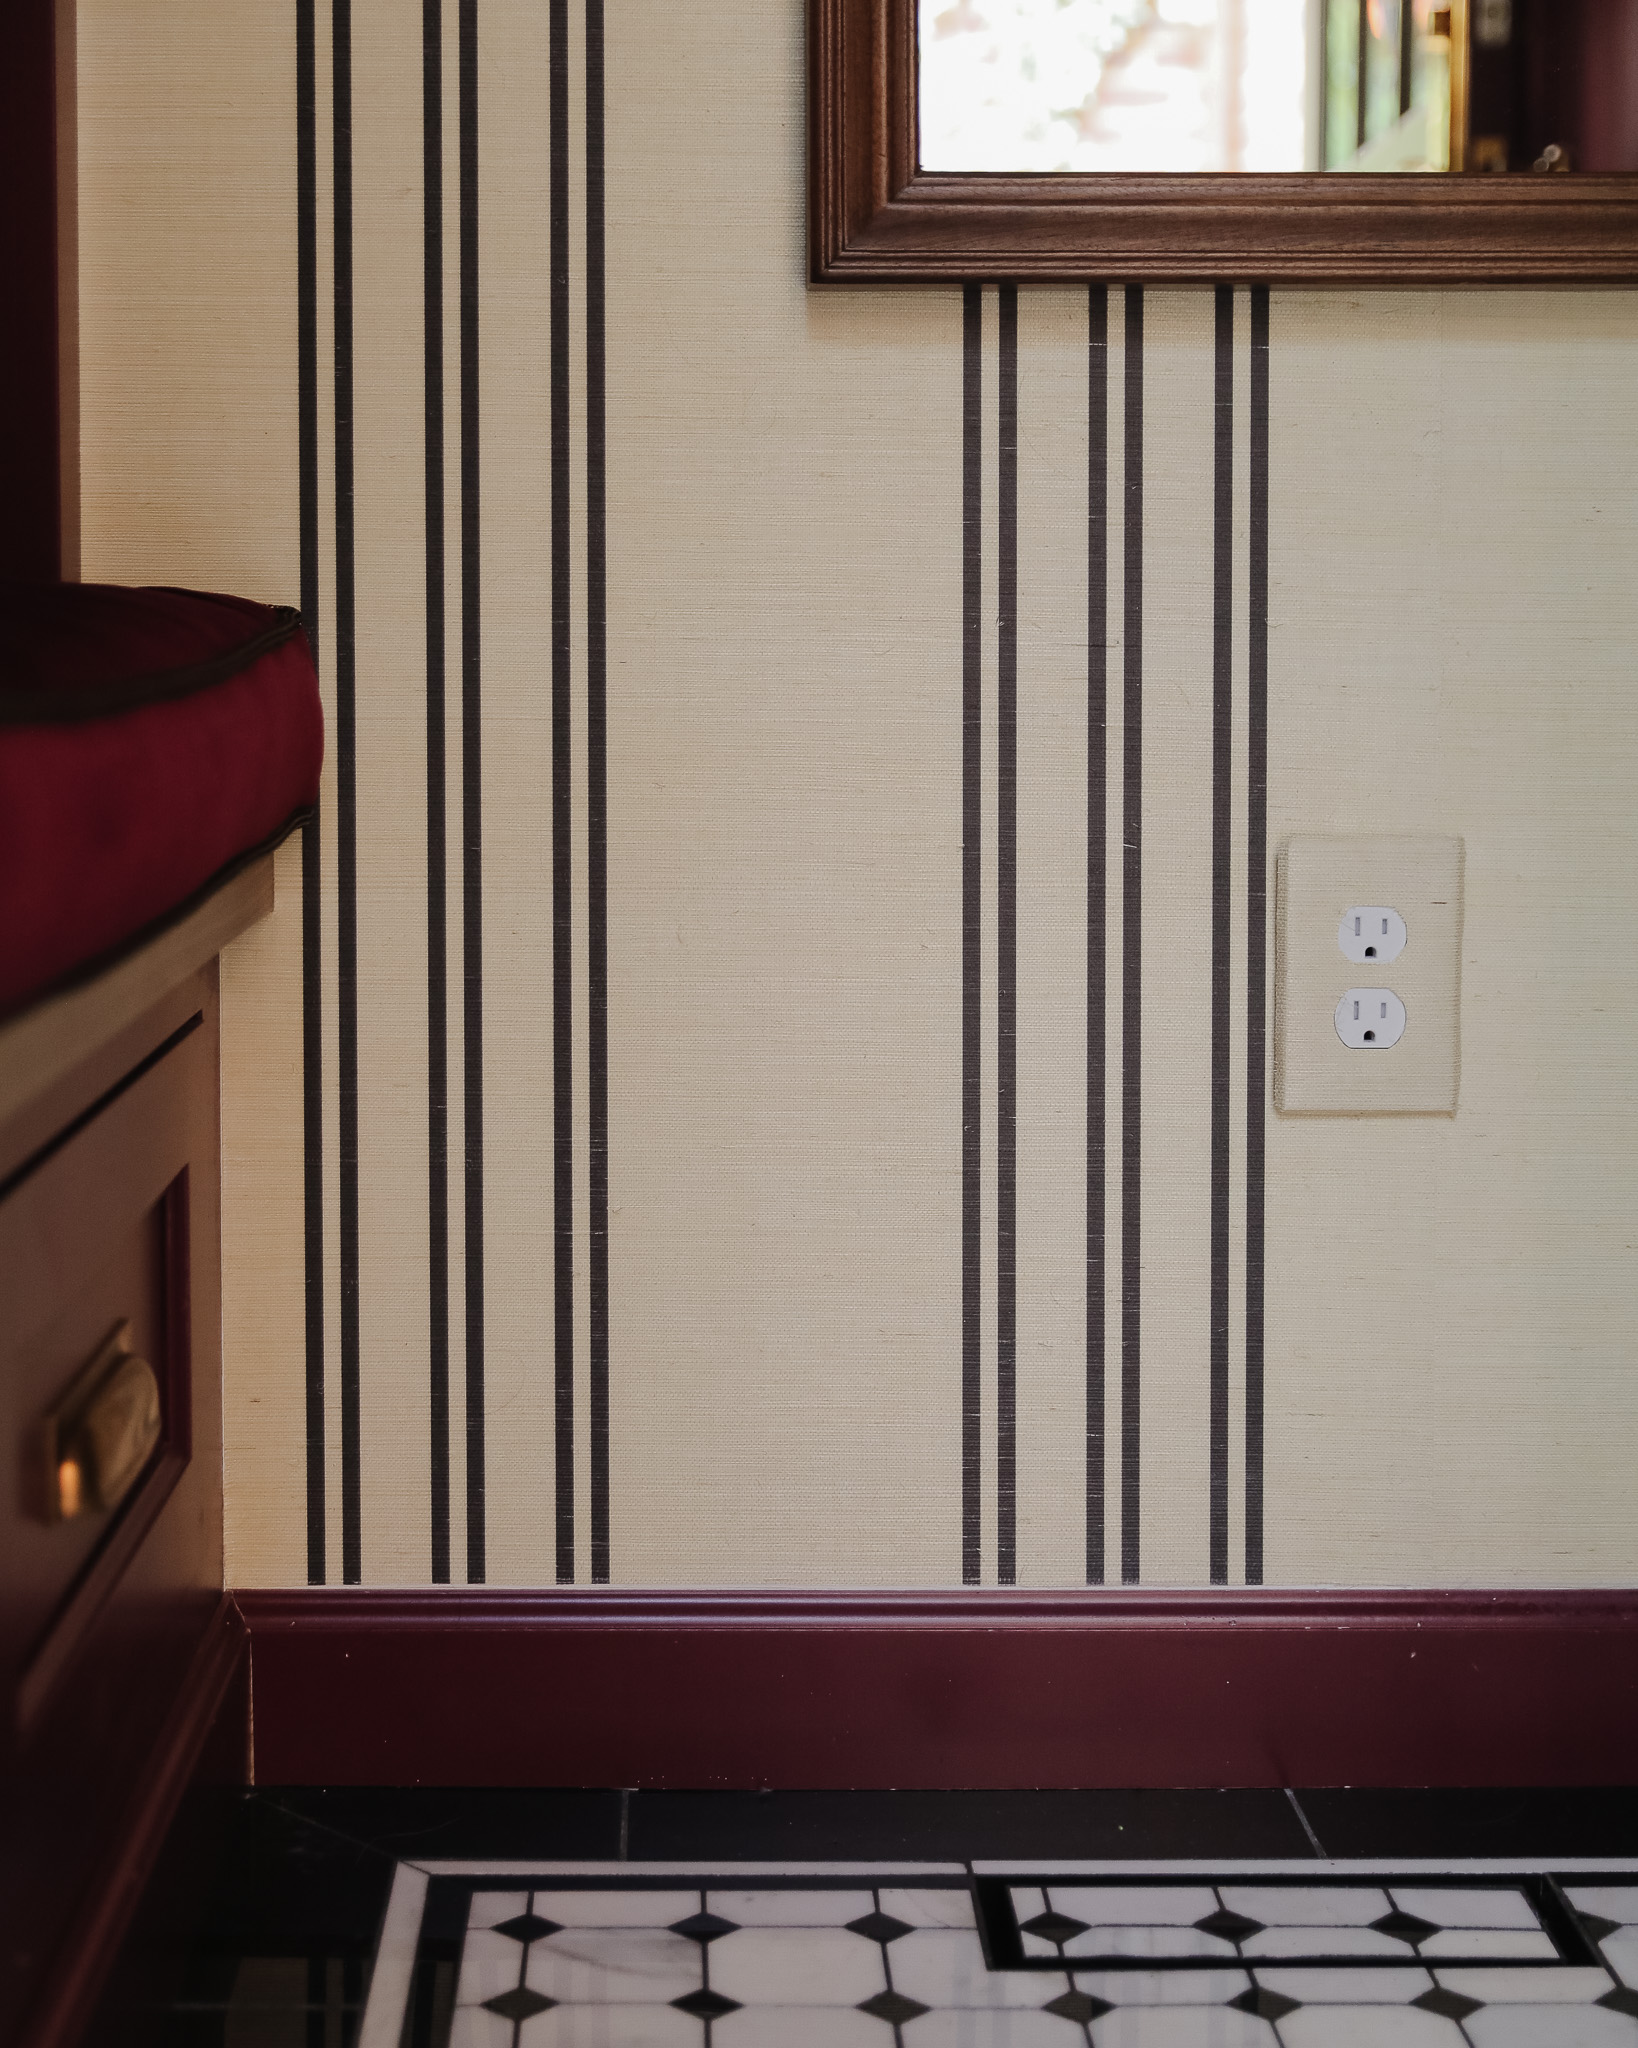
When it came time to upgrade the switch plates in the mudroom, we couldn’t do painted switch plates because the wall was wallpaper. So the plan was originally to do brass. But there were six different outlets and switches in that small hallway, and I was just like, “That amount of brass is just going to be too distracting.” How about we cover them in wallpaper? Problem solved!
Now, I have never wallpapered plates before, so there were definitely some lessons learned along the way. I wanted to share my findings to help your DIY projects go smoother. But really, it wasn’t too bad. If you have some extra wallpaper from a project, it’s a great way to streamline the look of a room!
Here’s the before:
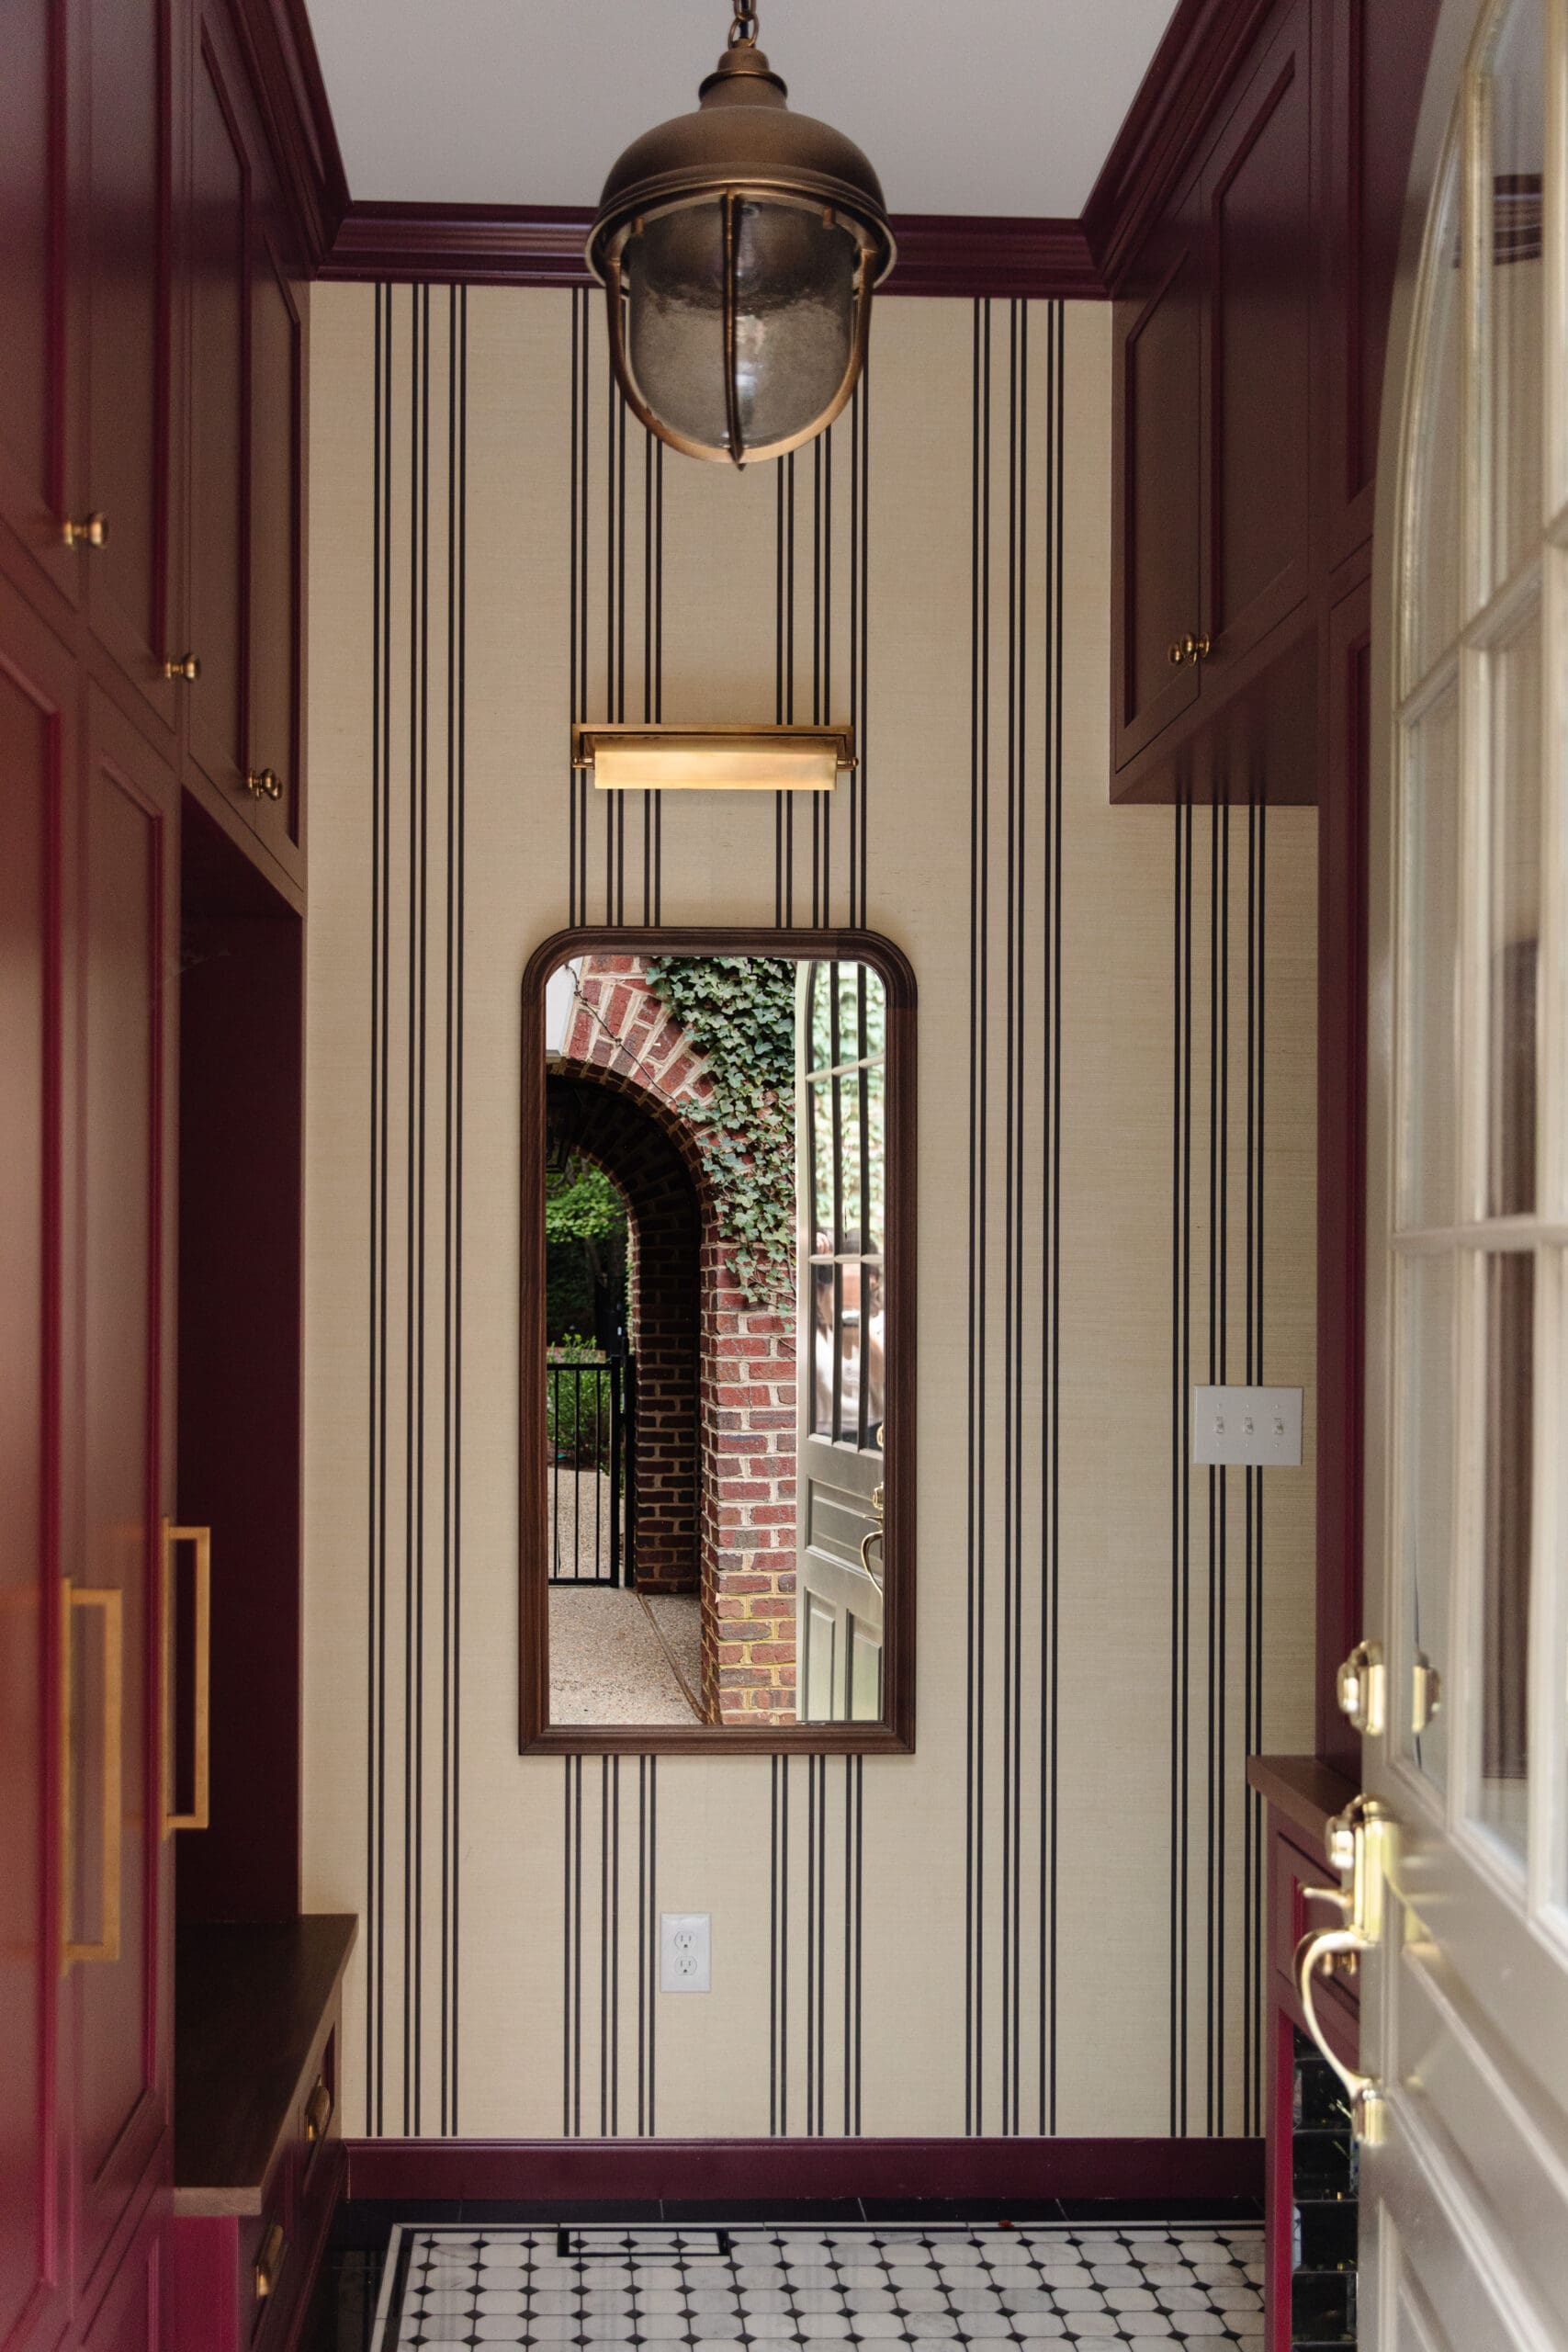
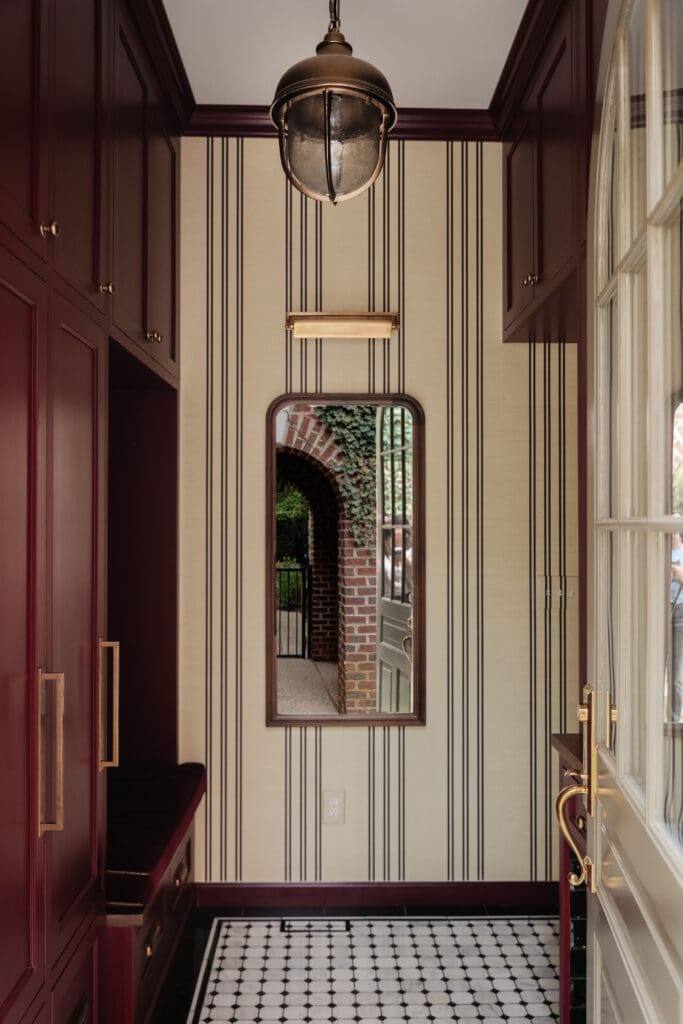
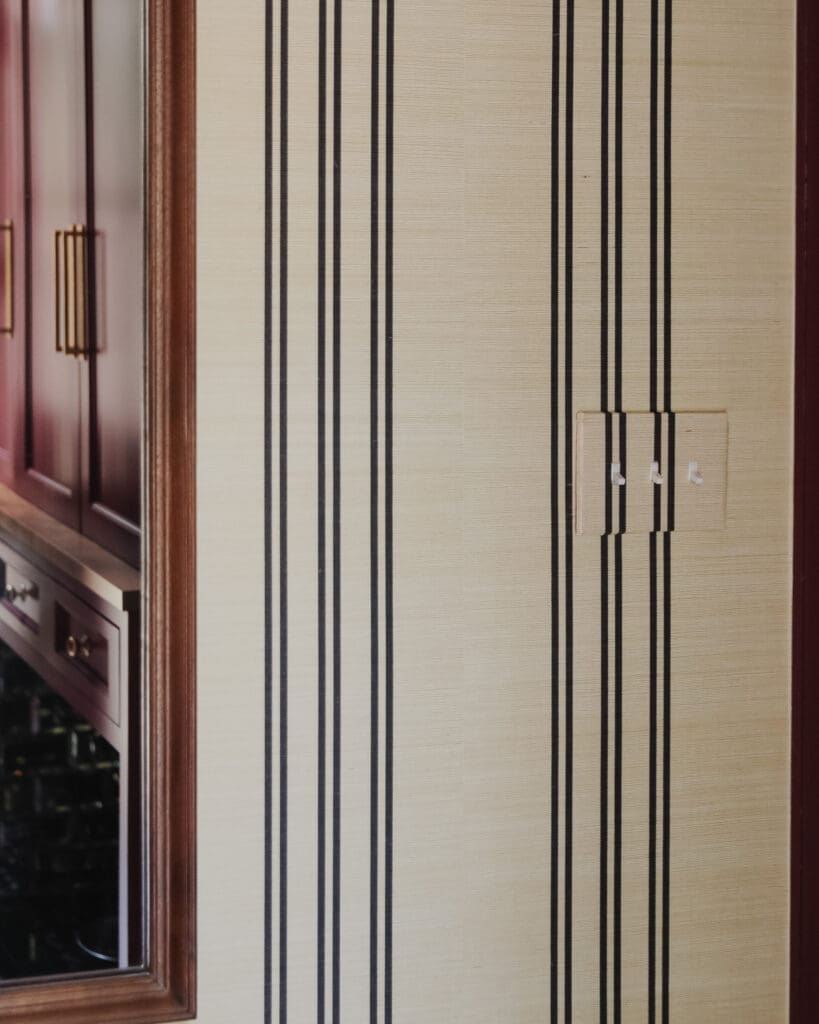
And here’s the after:
Wallpaper | Switch Plates | Pendant Light | Picture Light | Wall Mirror | Knobs | Cup Pulls | Door Pulls
Choose Your Switch Plates
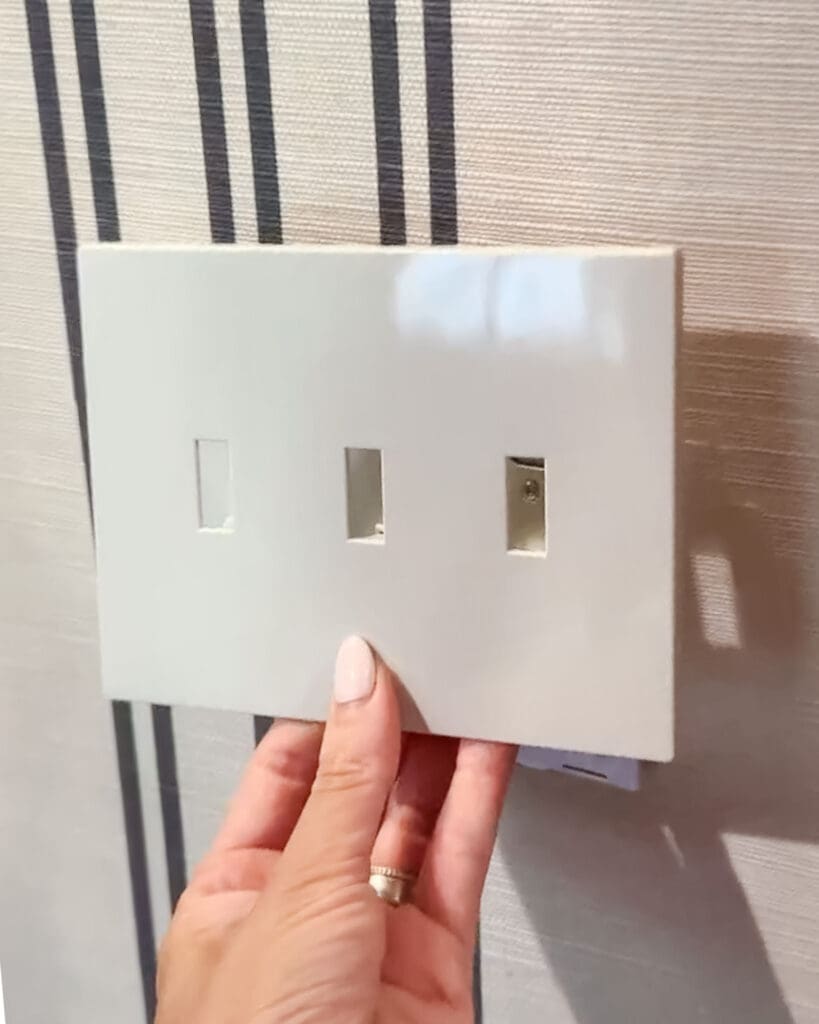
When I was looking for inspiration on how to start, I saw a lot of bloggers use standard switch plates, but I bought a bunch of switchplate covers from Lowe’s that just snap in place with a screw underneath so there are no visible screws on the front. I thought it would be a lot easier to wallpaper and look a lot cleaner too. I stand by my decision — they worked out great!
Cut a Section of Wallpaper
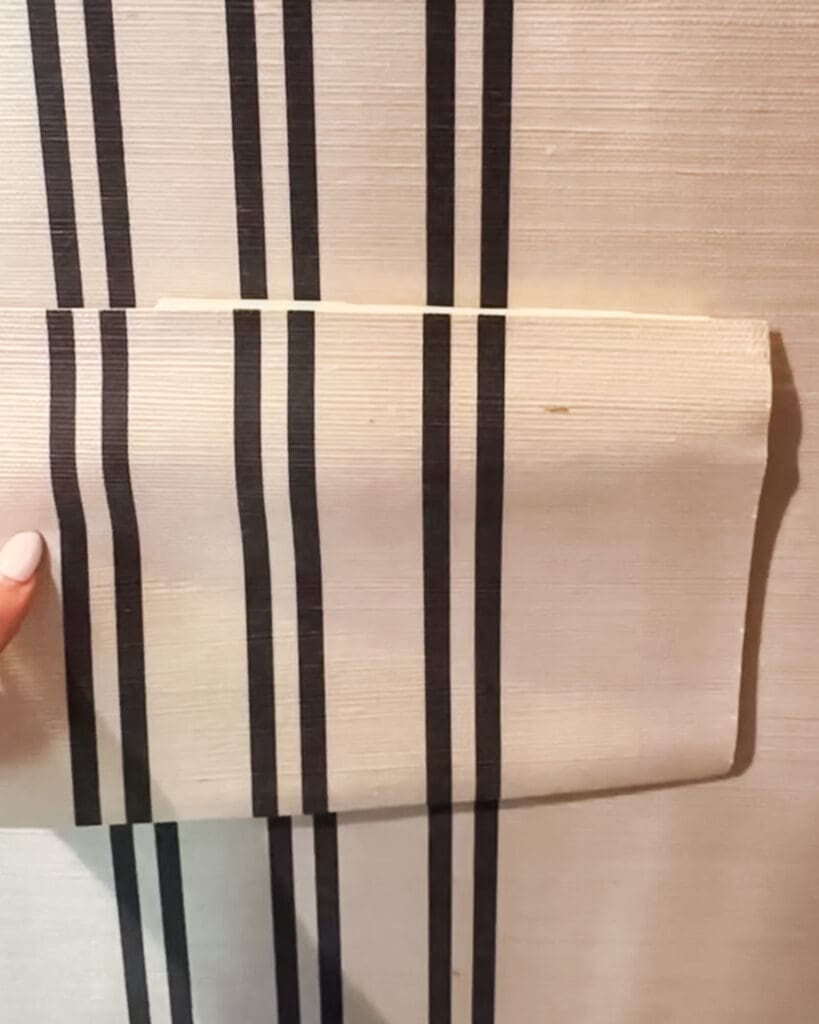
I cut a slice of wallpaper off the roll that gave me a 1/2″ clearance on both the top and bottom of the switchplate. So if my plate was 4-inches tall, I cut a 5-inch tall strip across the whole roll of wallpaper. That way I could do multiple switches depending on where they fell into the pattern. Some plates were easy because the pattern was minimal — they would just be background beige.
If there was a pattern I needed to match up, I snapped the plates onto the wall in their spot and then held up my wallpaper so I could get the repeat right as to where I made the cut lines. I then cut a slightly oversized wallpaper piece in the right section of the pattern allowing an inch of overhang so I could wrap the back.
Adhere the Wallpaper onto the Switch Plate
Next I took each switch plate outside, sprayed it with the spray glue, took it back inside quickly, snapped it into place on the wall and pressed the wallpaper section onto the glue-front of the plate to adhere it, matching the pattern perfectly to the adjacent wallpaper. This part was a bit frenzied since I didn’t want the glue to dry before I could adhere the wallpaper to the plate! It’s important to do this step one at a time.
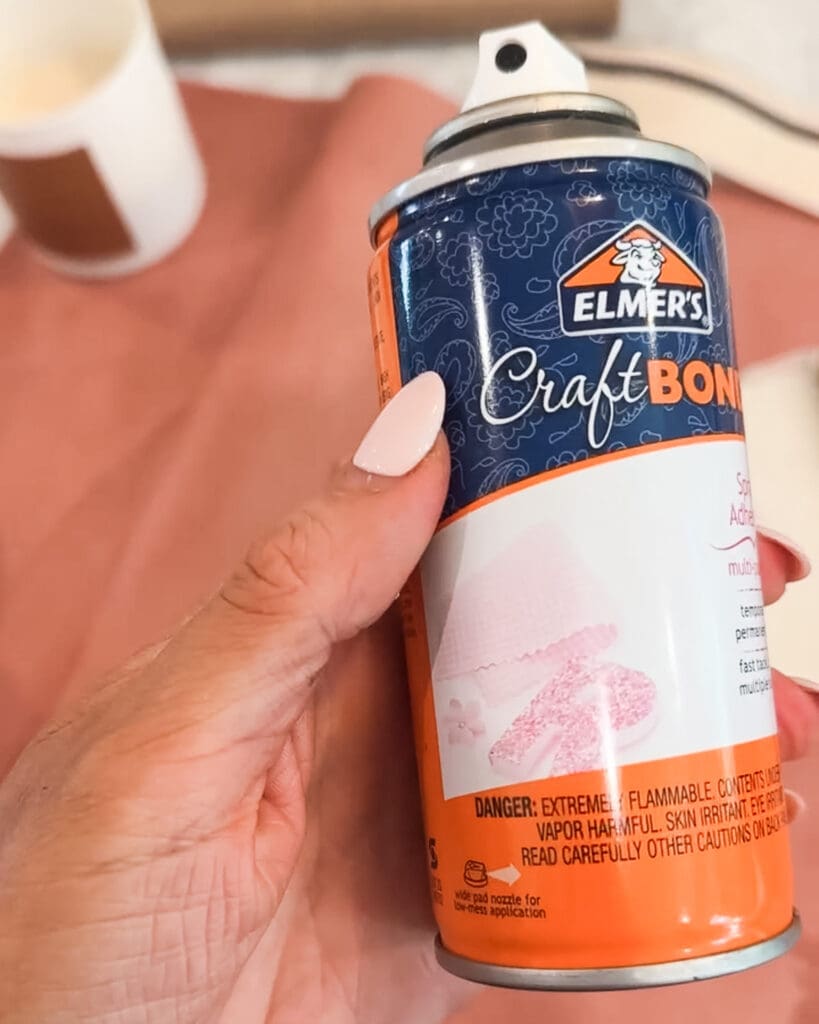
Unfortunately, my first go-around I tried the completely wrong spray glue (drywall corner bead spray adhesive), which was what I had on hand. The glue was pink, messy, and it didn’t dry clear. It did stick really well though. Then I tried Elmer’s spray craft glue, but that one really didn’t have enough holding power. I got some DMs that recommended a hot glue gun, but I worry it would have created some warping. I should have reached for some Gorilla Spray Adhesive or 3M Super Spray Adhesive….note for next time.
Cut Out the Switch Plate Shape
After that, I popped the plate with the wallpaper adhered to it off the wall and put it on a cutting mat. Turning the plate upside down, I cut around the edges with scissors so there was only about 1/2″ overhang now, and made a diagonal slit at each corner. Make sure you have sharp scissors that you don’t mind getting sticky! Again, lesson learned because I only had these tiny ones on hand since I didn’t want to ruin my nice scissors.
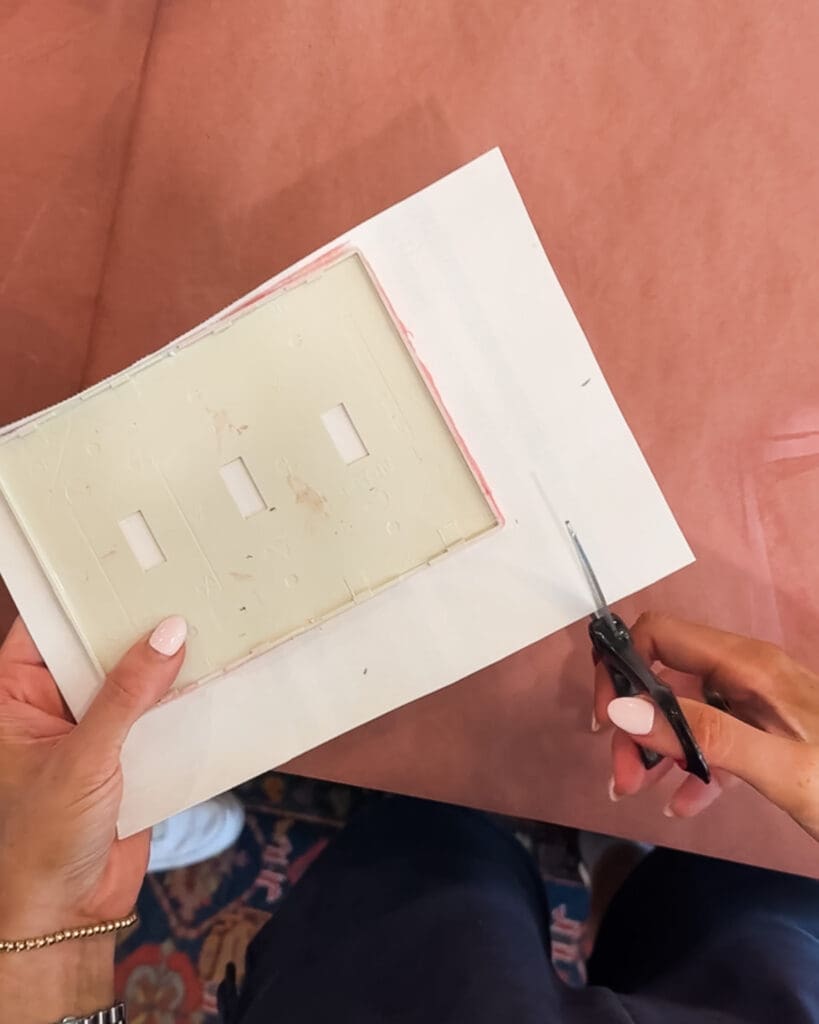
I started folding over the edges and folding in the corners like a present (one side folded and then the other side), but it was creating too much bulk. So then I cut a triangle out of each corner like you would to miter the corner of a napkin and was able to fold it over on all the sides more easily.
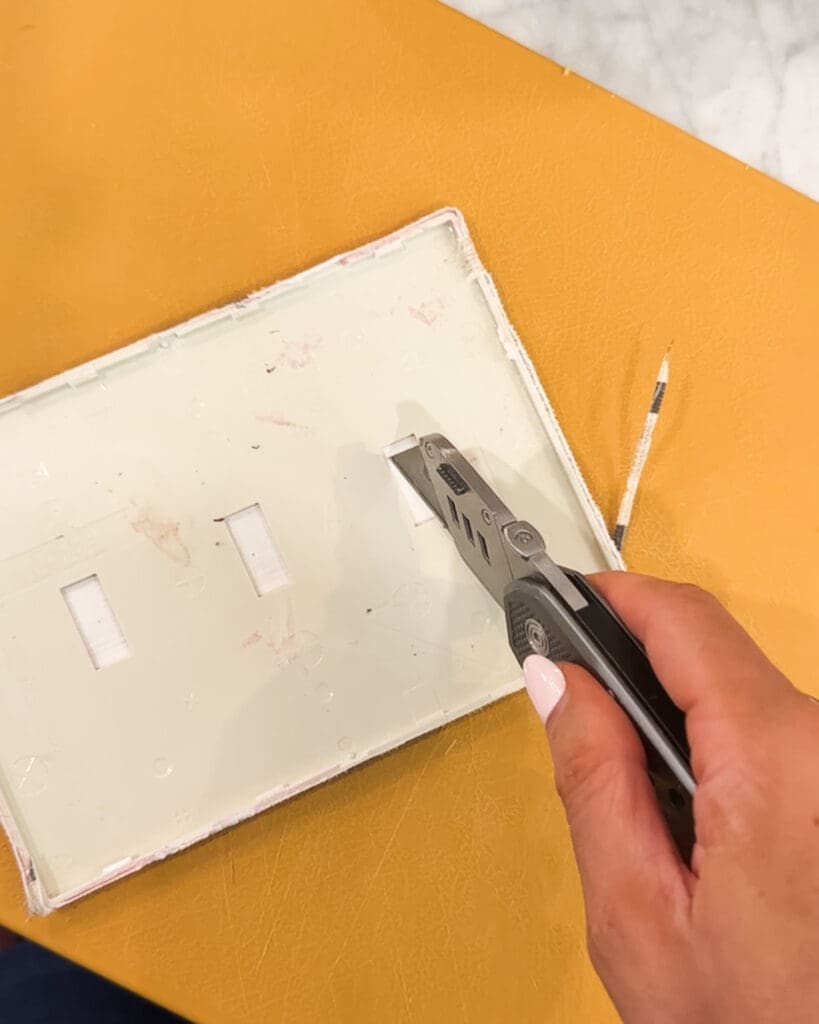
Still using the cutting board below, I used a utility knife (you can use an X-acto knife) to carefully cut out the shapes for the outlet plugs or light switches in the middle.
Lastly, I snapped the plate back onto the wall and screwed the bottom in with the screw to secure it.
Wall Mirror | Wallpaper | Switch Plate

Shop the Mudroom

Final Thoughts
Now, you probably haven’t seen many people cover switch plates with grasscloth wallpaper and there’s a reason for that: this stuff is much thicker than traditional wallpaper. It’s made of natural grasses, so it has heavier fibers. Chris suggested (after the fact) that I could have scored the edges before folding them over and that might have helped. Traditional or peel-and-stick wallpaper will probably be a lot easier to fold over the edge, but if your paper is thick, try using a scoring tool to make it easier.
The first switch plate took me about 12 minutes to cover start to finish and by the last wallplate I was down to about 5 minutes. I think I will apply some Scotchgard to the plates, just because people will be touching them to turn them on and off. That way they’ll be easier to clean.
Overall it was a really simple project that created a sophisticated look using just a few tools and some wallpaper scraps. Learn from my trial-and-error, and you’ll have beautifully wallpapered switch plates in no time!
[ad_2]