[ad_1]

Why It Works
- Adding a beaten egg to the butter, sugar, and cocoa powder mixture before pouring it over the other crust ingredients helps bind the base layer, eliminating the need to bake it in the oven to set it.
- Incorporating custard powder into the filling adds flavor and helps to thicken the middle icing layer to make it more stable.
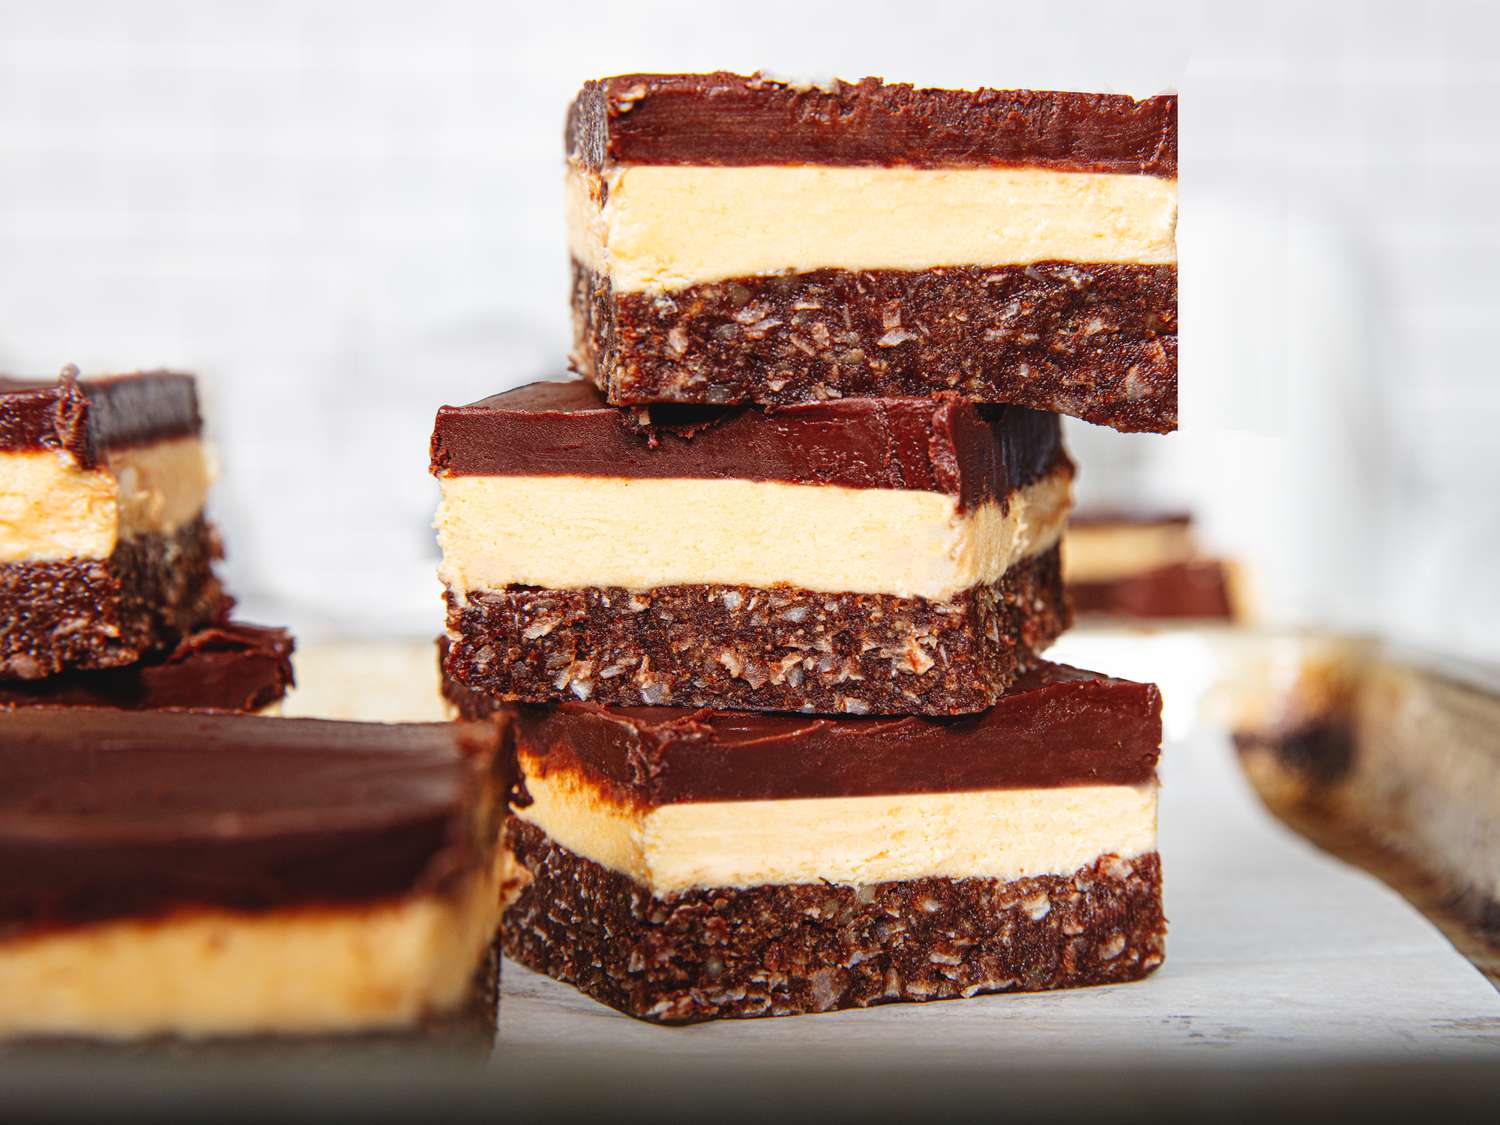
- Chilling the bars between steps helps create three distinct layers.
Growing up in Canada, I’ve had plenty of Nanaimo bars from bakeries, restaurants, and my own grandmother’s kitchen. With three distinct layers—a graham cracker crust with shredded coconut and cocoa powder, a sweet custard filling, and a bittersweet chocolate topping—Nanaimo bars are an eye-catching treat. The no-bake bars have been a mainstay across Canada since the 1950s, when the bars were apparently first made in the waterfront city of Nanaimo in British Columbia. The bars became even more popular in the late 1980s, when they were featured at Expo ‘86, the World’s Fair in British Columbia.
As with many other iconic desserts, there’s much debate about what makes the perfect Nanaimo bar. Some cooks may prefer a thicker base, while others want more icing. In 2019, when Canada Post revealed a line of stamps featuring Canadian desserts—including a Nanaimo bar with a hefty layer of filling—the stamp caused a commotion among many Canadians who felt strongly that the ratio of crust to filling was incorrect. “I worry about the structural integrity of this nanaimo bar,” tweeted reporter David Reevely. For me, the best Nanaimo bars have a hefty crust, with a thinner layer of custard icing and chocolate. Read on for my tips on making what to me are the perfect Nanaimo bars, as well as my full recipe.
Tips for Making Perfect Nanaimo Bars
Make a sturdy base. For a base layer with plenty of flavor and nutty texture, I pulse graham crackers, shredded coconut, and walnuts together in a food processor to form fine crumbs. The graham crackers provide structure, while the coconut adds sweetness. I love to use walnuts for their flavor, but some variations of Nanaimo bars call for chopped almonds instead—you can easily swap in almonds or even pecans if desired. Just use the same volume of nuts and proceed with the recipe as written.
Serious Eats / Amanda Suarez
Though most recipes for bars will have you bake the base so it firms up, my Nanaimo bars require no time in the oven at all. I whisk an egg into melted butter, sugar, and cocoa powder over a pot of simmering water, and as the egg cooks, the mixture thickens. Together with the butter, the cooked beaten egg acts as a binding agent to bring the crust together without having to turn the oven on.
Similar to a quick graham cracker crust, the butter mixture moistens the crumbs, so it can be pressed into a baking dish to form the sturdy base layer. Once the base has chilled and set in the freezer, I add the custard icing layer on top.
Use a touch of custard powder to make the icing. It wouldn’t be a Nanaimo bar without its filling of custard icing, which comes together quickly with the help of a stand or hand mixer: All you have to do is beat softened butter, powdered sugar, custard powder, milk, vanilla extract, and salt together until you get a rich frosting. I’ve chosen to use Bird’s custard powder here because of the brand’s 100-plus year history; it’s the one many Canadians—including my grandmother—reach for when making Nanaimo bars.
No one knows exactly why classic Nanaimo bars feature custard-flavored icing as opposed to actual custard, but I do know it wouldn’t be a Nanaimo bar without the powder, which enhances the vanilla flavor of the frosting and its creamy texture. My ideal custard layer is just slightly thinner than the base layer, so it provides plenty of flavor without being overpowering. Once I spread the frosting over the base, I refrigerate it for an hour to give it a chance to firm up before moving it into the freezer to get it extra cold for the chocolate layer.
Semisweet or dark chocolate is key. To prevent the dessert from being cloying, it’s essential to use semisweet or dark chocolate (around 70% cocoa) for the topping. The bitterness of the dark chocolate helps to offset the sweetness of the filling and rounds out the entire dessert.
Serious Eats / Amanda Suarez
Portion with a hot knife. For nice, clean cuts, I run a sharp knife under hot tap water and dry it with a clean kitchen towel before cutting the chilled bars. For the most precise cuts, I recommend repeating this step between each slice.
Serve the bars cold. To keep the structure of the bars and the layers distinct, it’s crucial to store Nanaimo bars in the fridge. I like to enjoy a Nanaimo bar straight out of the fridge, but you can also let them come to room temperature for several minutes if you prefer—you’ll just have to be prepared for very soft chocolate and custard layers. No matter how they’re served, these Nanaimo bars are a comforting taste of home, and bring me straight back to my childhood in Canada.
[ad_2]